oh our floor, our poor poor floor
I doubt anyone got that the title of this post is a reference to Most Happy Fella. But really, I don't know if I should feel sorry for the floor which has no feelings, or for us who put so much time, thought and energy just to be left with lots of permanent mistakes. I've convinced DM, with a therapeutic and optimistic tone, that they are our mistakes that we made together and that makes them special. I mean, whether that is how I truly feel or not (this entirely depends upon my mood at any given moment), that is the truth. We made these mistakes. The floor is ours. We have no one else to blame. And other than professionals or nit-pickers like ourselves, no one else will probably even notice these mistakes except for us -- and anyone who knows this story and enters this bathroom looking for them. Hopefully!
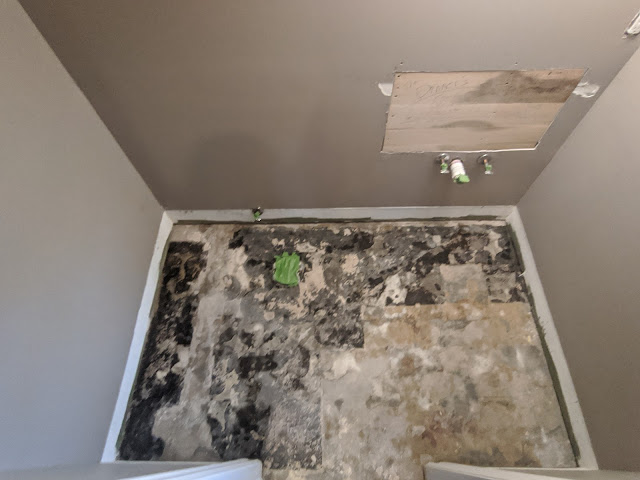


It all started with a really uneven grade in the foundation. Demoing the floor was messy, loud, slightly dangerous, yet fairly easy. Actually, let me just talk about that first. If we ever did this again, we learned how to avoid every single mistake we made. First, was not covering the floor with some kind of cloth while hammering in order to prevent shards from flying directly at us. Maybe I'll just list the mistakes at the end and just stick to the process. Okay. Yea. I'm gonna do that.
So, the floor was a clean slate, as I wrote about last time in weeks 2's post.
DM sealed the foundation and we did the self leveler. That really was easy. Mix, pour, smooth over and let it set. We decided to do a second application to get the floor a bit more level. It was never going to be perfect since we are 1st time DIYers, but it was way better. Once that was done, we phased right into the moisture barrier - ditra! After researching, this stuff seemed like THE answer. It's the stuff everyone uses. Is there even another option? Not that I came across. Other than self doubt and complete lack of confidence topped with high anxiety for everything to be done perfectly, this part was also easy. Granted, this room is tiny. 50 x 80 inches tiny. Had the room been larger... umm I'd rather not even let my mind wander there... it's a scary place to go. All we had to do was dry fit the material which we did maticulously from edge to edge and the mix the thinset (mortar), spread it out, roll out the ditra and yet another step closer to a complete floor. I also watched and studied this video and embarrassing amount of times! Mid install, DM was begging and pleading with me to stop playing it.
 |
| 1st application of self leveler |
 |
2nd application  schluter ditra going down |
Before we started anything after demo, I got to play! Spent some time dry fitting the tile and make sure it looked exactly how I wanted, down to every last tile. Yes, even though the 2" square tiles came on 12" square sheets, there were a few tiles that had chips or veins that I found undesirable, so I pulled them off and swapped them out. Once I was satisfied, I labeled everything with painters tape and a letters to correspond with a diagram on the wall--this way, when it came time to laying the tile, it would be organized and easy flowing.
If only. Nothing can be that simple. Even though it really should be. This is where we made the dumbest mistake, and we can only laugh about it now. I mean, we aren't laughing, but what else are we gonna do? Cry? Be angry? We are mid global pandemic. There are worse things in the world. Wtf cares about this stupid tile?! He and I do. But that's all. We must move on. And that's what we did. We laid the tile incorrectly, despite the number of videos I watched. We made a couple of really dumb mistakes. But we did it! It's done! It's farrrrrr from perfect. But it's beautiful, functional, a million times better and it was something we did together of which, at least I am proud! (hoping I did that correctly Z.)
can you spot our mistake? we thought we were so careful in our planning, that we could actually go against EVERYONE'S advice to start in the center and went on the side instead. why? i really couldn't tell you at this point. but...lesson learned. they say to start in the middle for a reason! our most screwed up tiles are the ones front and center since every marginal misplacement adds up to haunt you right where you can see it most.
to commemorate our first photo of graham in the old bathroom :)
it's down and, fingers crossed, no one can tell from the photos, to what mistakes I am even referring!
 |
that's my man right up there, grouting. god i love him. After the grout was done, a lot of the mistakes faded away quite a thankful bit. We vowed to never set a level on the floor, ever and just appreciate what we accomplished together. Nothing is perfect. Not either of us individually, our marriage, our lives, nor this floor. But we love it and are so glad we did it. If the next owners of this house want a perfectly level and installed floor..well..that's their problem.  There isn't really a list of mistakes. It's just this...
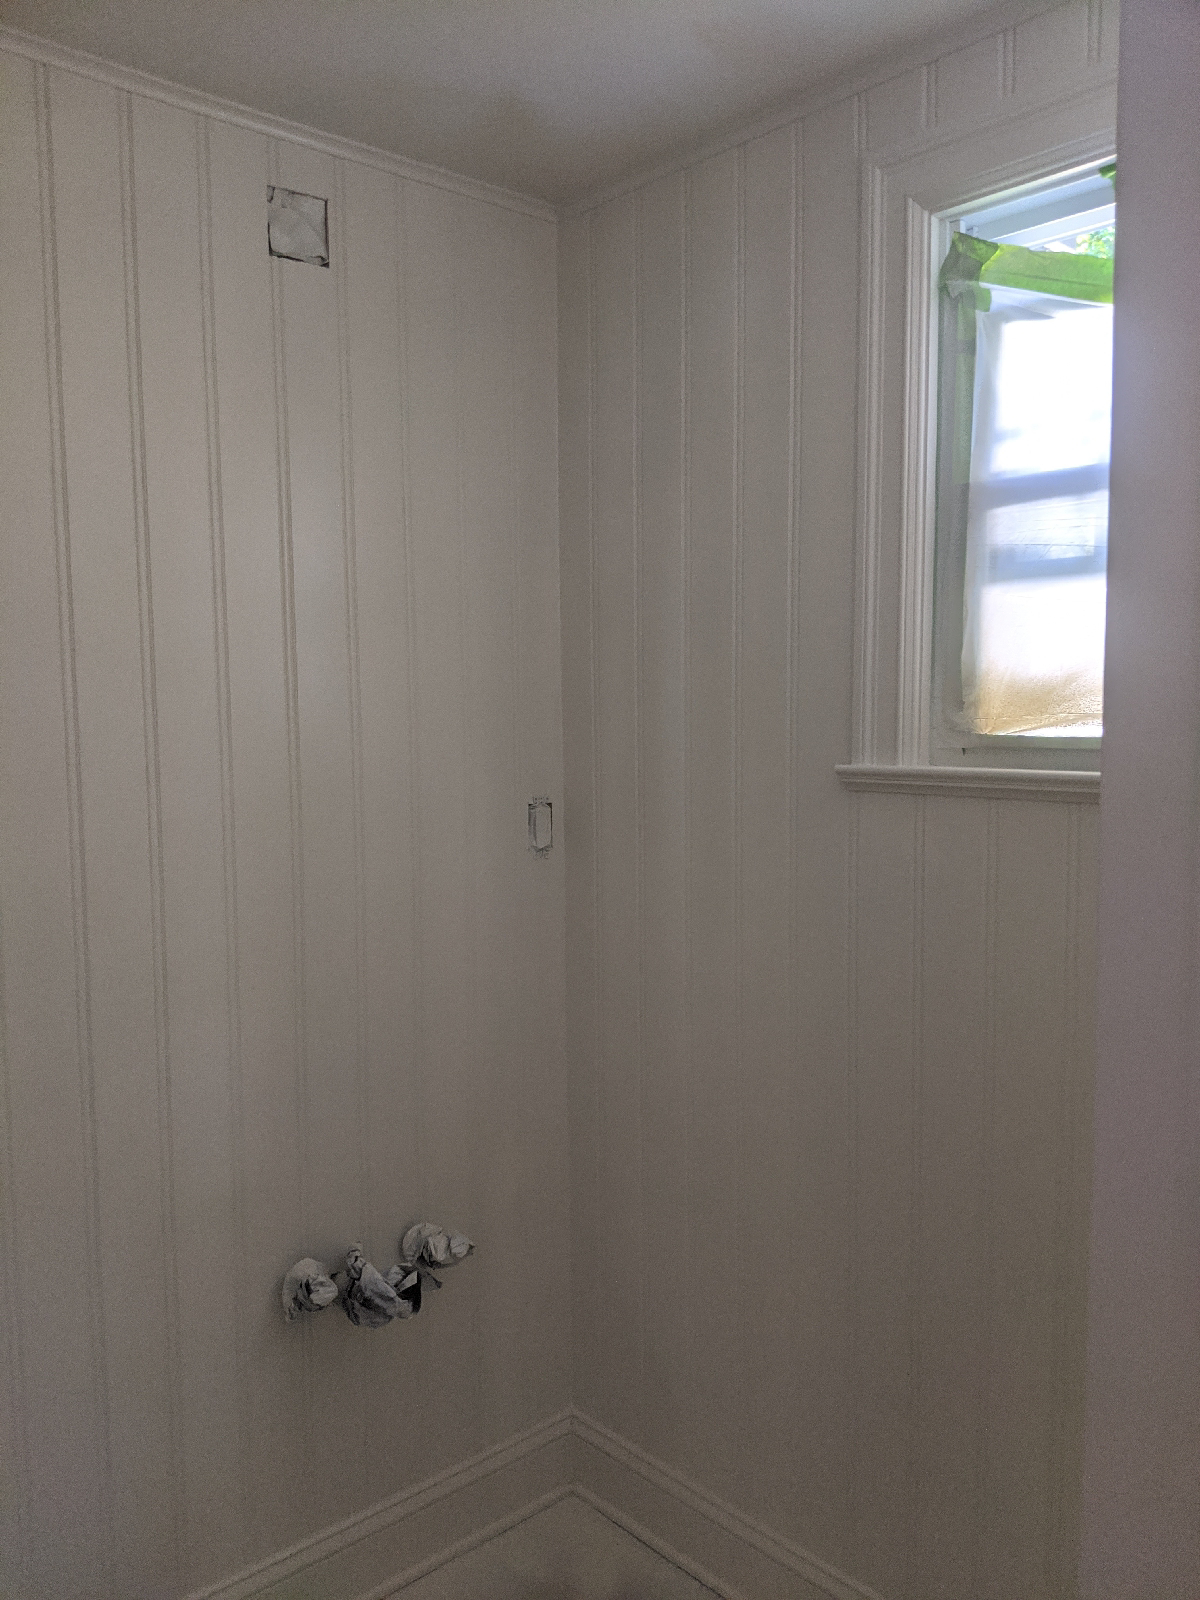
It seems so obvious now that it is in the past, but if we ever do this again (which he says we never will) we'll know just what to do and quit making simple things more complicated. Now we have moved on and are right on track, time wise, and mid bead board install. By this time next week, that should be all finished, along with the baseboards and ready to paint. 👌🤞🙏💪🏻 |
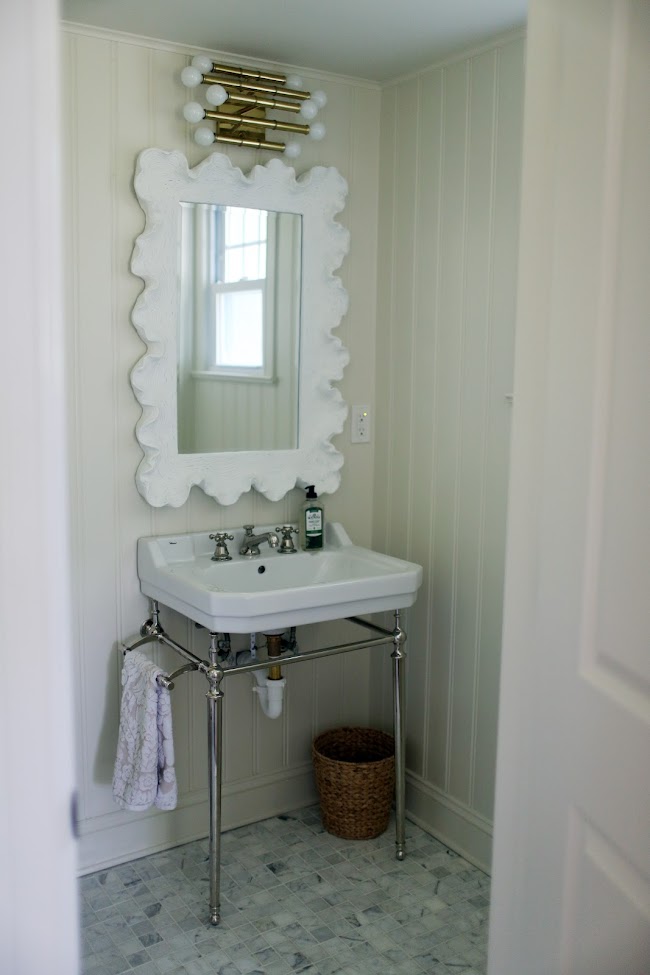
left photo:inspiration right photo: two bm paint options (L: revere pewter @ 50%, R: french canvas)
I really loved the wall color in the inspiration room. It happened to be similar to our kitchen cabinet color, from which I had recently taken all the doors off. I did track down the actual paint color from our kitchen and inspiration photo (that's a whole story in itself!); however, both of those colors are different brands and would need to be color matched since I am using Benjamin Moore. I didn't wan't to deal with that, so I went through my fan deck for many late nights and narrowed it down to these two options. One DM despised, and the other he doesn't like either, but he knows I'm not gonna bend, so he pretty much was left with no alternative, which luckily was my top pick. It's safe, but timeless and that's what I'm going for in this design. Any guesses which we chose?? Two more weeks, and we'll see if we even stick with what we "agreed" on!
follow me on instagram for the fun videos that I don't post in here which feature, imo, never too much of this sweet face pictured above.
and visit the ORC blog to see all the other, more impressive, talent happening over there!!
xo,
lizza
Comments
Post a Comment