hvlp = high volume lasting pleasure
Weeks and weeks and weeks ago, I discovered @makingprettyspaces on instagram. I don't remember why, when or how I did, but I vaguely recall it was very late at night when my whole household (and most likely the entire country) was fast asleep and I was up for hours watching her beyond impressive diy videos. If you don't know her yet, head over to IG and check her out. They were simple, quick, informative and beyond motivating. It was most definitely she, Jennifer, who got me instantly sold on the idea of using an hvlp sprayer. What does the hvlp stand for? I don't know! That's why I made something up in the title for this post. It sounds a bit erotic, but I couldn't think of anything else.
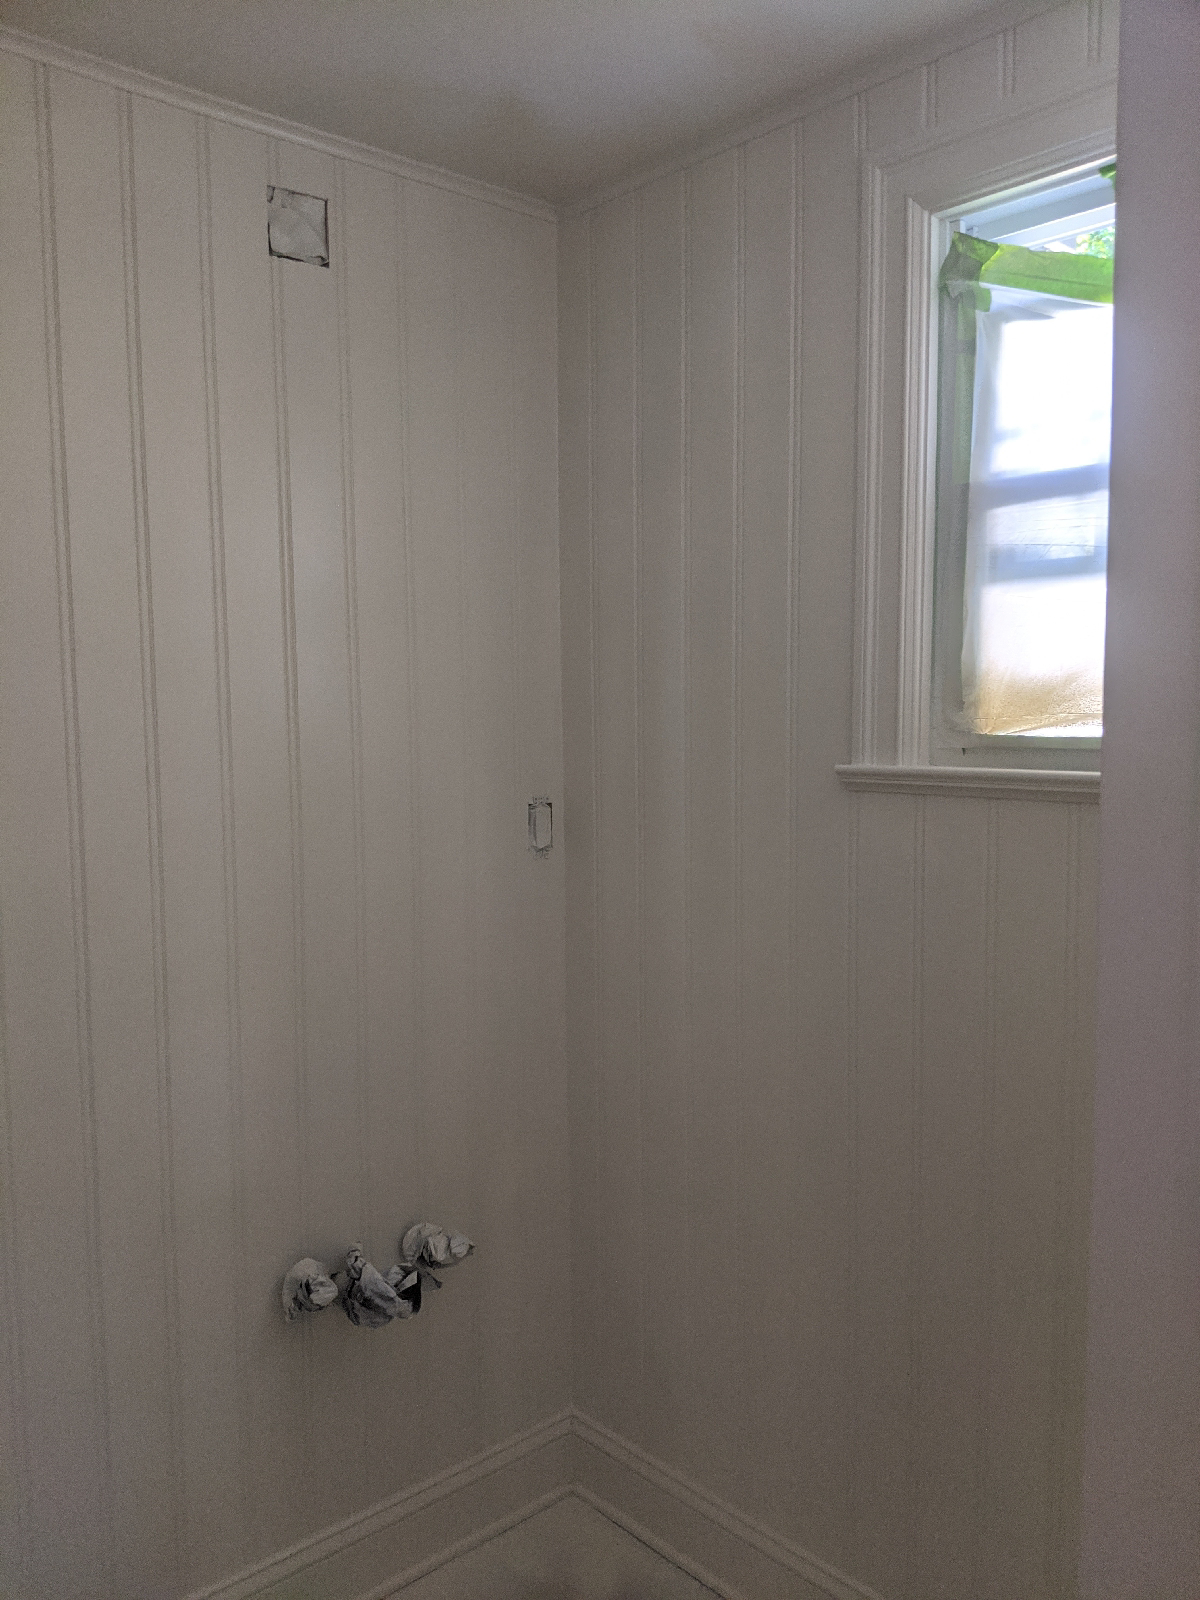

No matter how well you use a paint roller or brush, there are always those distinguished markings left behind. We put up this gorgeous beadboard, which took so much thought, time, planning and effort; I was not about to let it all go to shit with roller marks and brush strokes. I wanted a high quality finish like cabinetry. With no time to shop around, David ordered an hvlp spray gun for me. It was something I knew I'd need to read a lot about and watch more videos before I could actually use it. To say the least, it intimidated me and haunted me for weeks. I read the manual. I watched one or two videos. We continued on with the steps that would ultimately lead up to the point where I needed to use it so we could complete this project. But I stalled. I procrastinated. I dreaded it. Everything looks so easy in videos! But the time came where I could wait no longer. I played with it once. I had the right paint. I got my viscosity cup. That thing is a whole other story which also @makingprettyspaces educated me about. Today was the day. I watched my refrsher course which consited of the most detailed 2 videos about operating the sprayer and getting the optimal viscosity. Viscosity is the thickness of the paint. Paint straight out of the can is too thick and it will just clog up the sprayer and basically not work. Getting that right was time consuming in itself because I had never done it before and I was so careful to take my time to get it right. That method always is the best, I believe. Everything was good to go! I felt confident 2 seconds after testing the settings a scrap piece of headboard outside on the lawn.
If anyone is interested in the videos:
@makingprettyspaces - she saved all of her videos under "paint sprayer" in her highlights
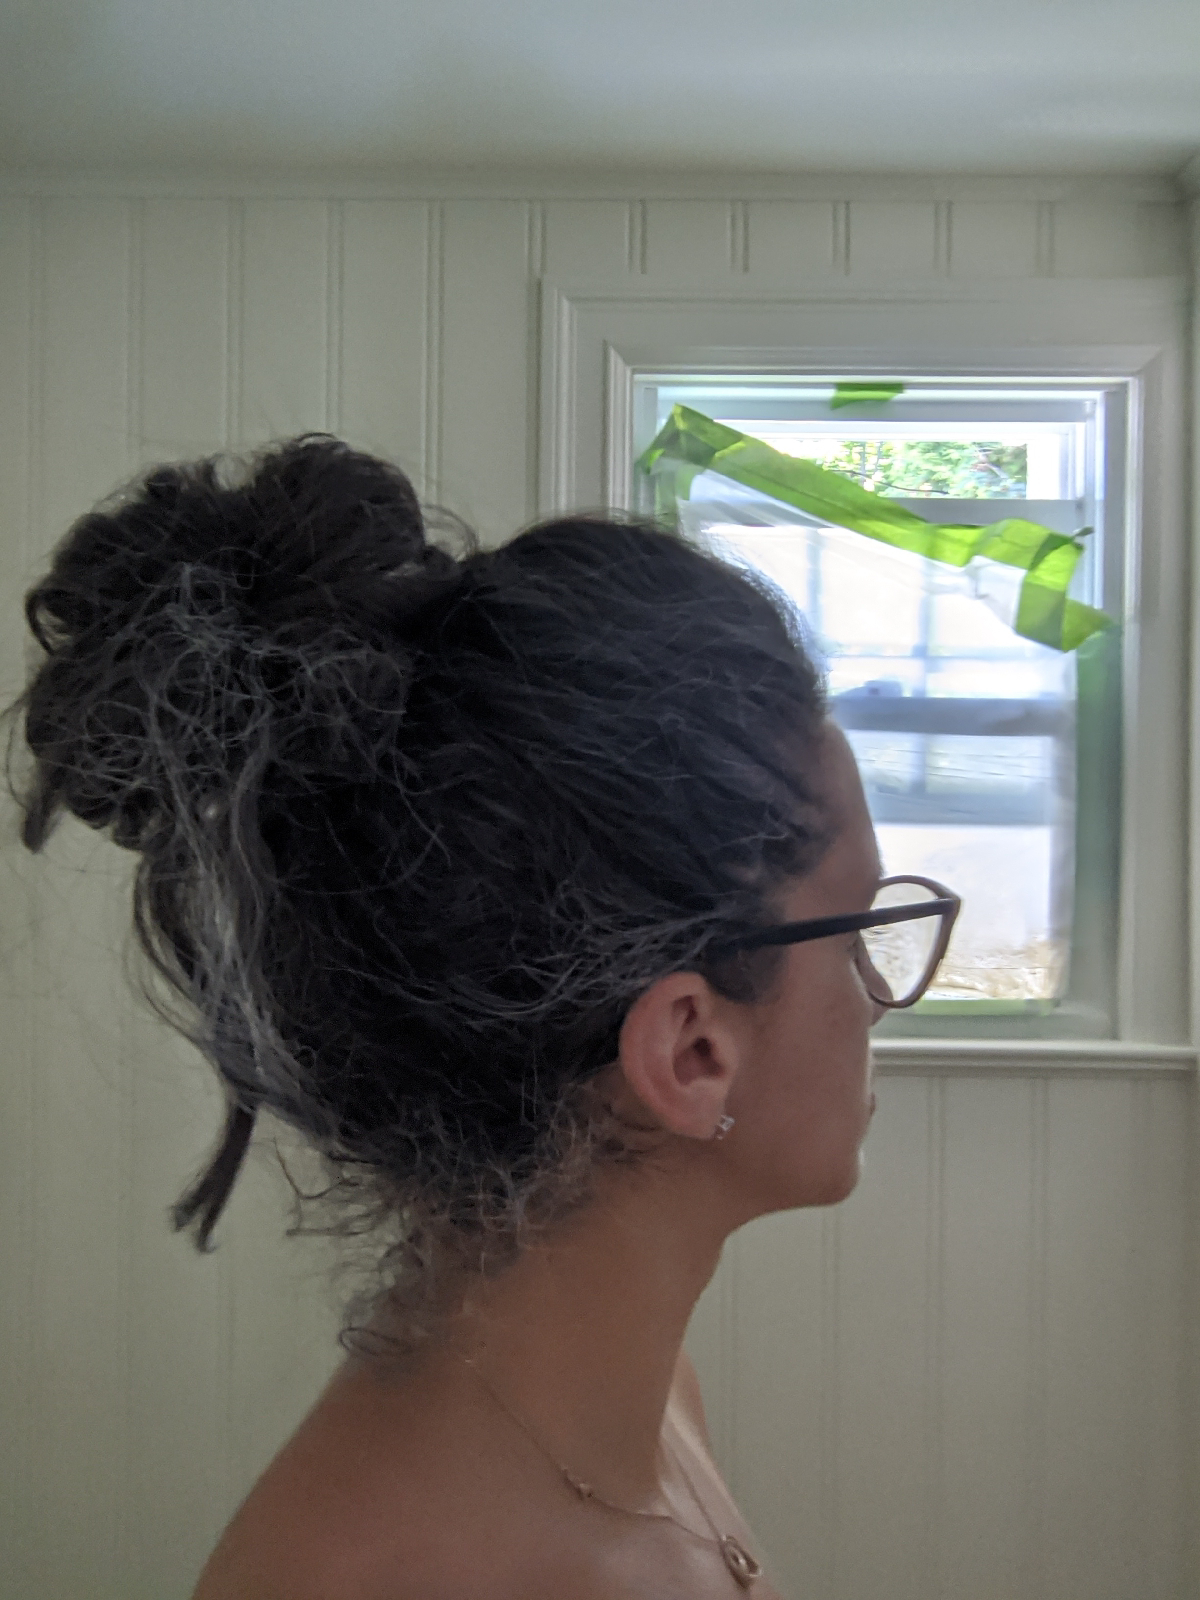
All of the stressing and determination to use this thing, rather than just cave and roll it on, truly paid off. I am sure no one in my hiuse could hear me behind the closed door and air compressor running, but I just kept squealing with joy and shrieking about how much fun it was to use! In total working time, it probably took me 10 minutes to paint. Lot of time in between though for being a beginner...like skipping any kind of ventilation. I had a mask on but zero air flow. Within 2 minutes I could barely see and couldn't breathe. So I cracked the taped up window after spraying that area really quick so it was done and set up a fan. Wow, what a difference! Once I felt finished, I took a break and let it dry a bit so I could see which spots I missed. Also, I called a Benjamin Moore rep for advice on moving forward. She did confirm the wait time for their Advance paint does have a long dry time of 16 hours between coats and to get the best finish, it should be lightly sanded and wiped down before applying the second coat. So, that's my morning tomorrow! Can't decide if the ceiling should be the same satin paint finish as all the wood work or sake color just in flat finish. Hmmm. Until then, here are 2 pictures. The second has a corresponding quote from my almost 3 year old daughter after seeing me stripped down from my painting covered clothes and finished for the day:
"I like your hair like a grandma." 🧓😅🤣😂
note to self: next time wear a hat.
posts leading up to week 6:
week 5 canceled. black lives matter!
Comments
Post a Comment